-
Who This Checklist Is For
-
Step 1: Head Protection—Type 1 vs Type 2
-
Step 2: Match Respiratory Protection to the Actual Hazard
-
Step 3: High-Visibility—It's the Reflection That Counts
-
Step 4: Perimeter Control—Chain Link Fence Rental Done Right
-
Step 5: Silt Fence—The Control Nobody Thinks About Until It Rains
-
Common Mistakes That Slip Through
-
Final Note
Who This Checklist Is For
I review site safety deliverables for a living—roughly 200 unique PPE and protection configurations every year. Over the last six years, I've rejected about 12% of first submissions due to specification mismatches. This checklist is the order I follow before anything gets cleared for use on-site.
If you're a safety manager, site supervisor, or procurement lead, it'll take you about an hour the first time you run it. After that, it becomes a 15-minute routine. The goal is simple: catch gaps before work starts, not after someone gets hurt or a regulator shows up.
There are five checks in total. Head protection first. Then respiratory. Then visibility. Then perimeter. Then erosion control. Each one has caught a real problem at least once in my career.
Step 1: Head Protection—Type 1 vs Type 2
Start at the top, because head injuries kill people on construction sites. But the first thing most buyers miss is that not all hard hats meet the same standard.
In my first year reviewing PPE specs, I made the classic specification error—I assumed "Type 1" was a newer or better rating than "Type 2." It isn't. Under ANSI Z89.1:
- Type 1 protects against impact and penetration to the top of the head only. Most standard hard hats fall here.
- Type 2 protects against top impact and lateral impact—front, back, and sides.
If your crew works around moving equipment, overhead loads, or in tight spaces, you want Type 2. It costs more, and it's worth it. I've rejected more specs than I can count that say "hard hat required" without identifying a type. That vague language is how a worker ends up with a Type 1 helmet in a Type 2 environment.
Also check the suspension. A hard hat with a cracked or worn suspension protects no one, regardless of type. Replace suspensions per the manufacturer's schedule, not when they look bad. Thirty seconds of checking now saves thirty days of replacement logistics later—that's the efficiency argument I keep making to procurement teams.
Step 2: Match Respiratory Protection to the Actual Hazard
Here's a misunderstanding I run into constantly: people think the most expensive respirator is automatically the safest one. Actually, it's the opposite. A respirator that's correctly matched to the contaminant, concentration, and work duration is what protects you. A top-tier system won't save you from a hazard it wasn't configured for.
Take the 3M Versaflo TR-600 PAPR. It's an excellent powered air-purifying respirator, and I've approved it for sites with heavy solvent exposure, isocyanate spray applications, and long work shifts where comfort matters. The blower delivers steady airflow, and the system supports a range of headgear options. But it isn't the right answer for everything. If your hazard is nuisance dust from thirty minutes of grinding, a properly fitted N95 or half-mask respirator can be the correct—and far more practical—solution. Choosing correctly isn't about budget; it's about matching the tool to the job.
Regardless of which system you pick:
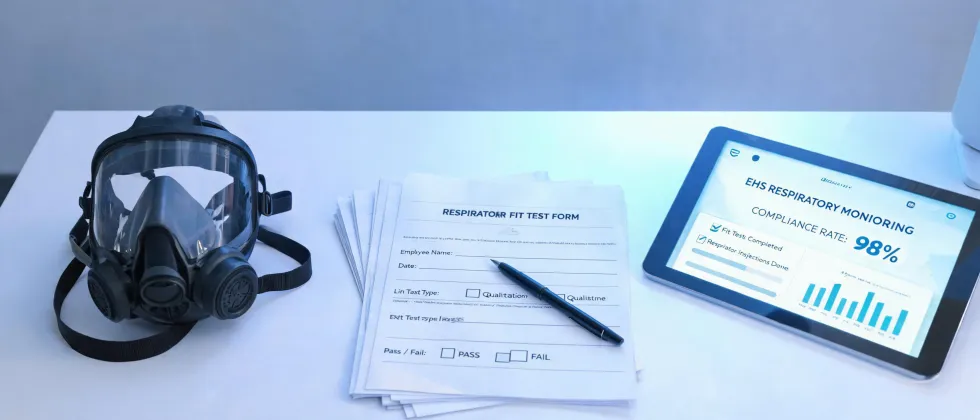
- Fit testing is mandatory for tight-fitting respirators. Make sure it's done by someone qualified, and keep the records.
- PAPR systems like the TR-600 need battery checks and filter changes on a schedule, not when they die mid-shift. (Note to self: always ask to see the maintenance log—this is where most sites fail.)
- Cartridges have limited service lives. Open them only when you're ready to use them, and write the open date on the cartridge.
One more thing: the TR-600 uses NIOSH-approved cartridges, but it's still your job to verify the right filter for the specific contaminant. A PAPR with the wrong filter is a false sense of security, and I've rejected more than one site submission on that exact issue.
Step 3: High-Visibility—It's the Reflection That Counts
High-visibility isn't about wearing something bright. It's about retroreflective material that bounces light back toward the source—a driver's headlights, an equipment operator's work lights. If you want a quick demonstration of the technology, look at 3M Scotchlite reflective film. It's used in industrial safety vests and, funnily enough, in consumer products like the Nike Air Max Plus TN 3M Reflective Black sneakers. Same core principle—light in, light back. The industrial grade is just engineered to survive harsher wash cycles and weather exposure.
For actual workwear, the relevant standard is ANSI/ISEA 107. Class 2 and Class 3 ratings depend on background complexity and vehicle speeds around your site. Don't guess—check the label on the garment.
And don't forget: retroreflective material degrades. Repeated washing delaminates the silver stripes. A vest that's been through 30 laundry cycles may no longer meet its original reflective performance, even if it still looks acceptable. If the stripes are peeling, replace it.
Step 4: Perimeter Control—Chain Link Fence Rental Done Right
Perimeter control is your first defense against unauthorized access, theft, and liability. Most sites end up renting a chain link fence, and there's more to it than making a phone call.
What I verify:
- Height and gauge. Six-foot fencing is standard, but if you're storing valuable equipment or materials, consider eight-foot with an added top guard. A small cost difference against a potentially large theft loss.
- Anchoring. A fence that isn't properly anchored can be pushed over or lifted. Check concrete footings or weighted bases—especially in wind-prone areas.
- Gate security. The gate is the weakest point. Verify lock quality and control who holds keys. I've seen sites with excellent fence runs and a gate padlock that any decent bolt cutter could defeat in seconds.
Rental makes financial sense for projects under a few months. Beyond that, purchasing can become more economical—but don't forget to factor in installation, removal, and repair costs when comparing. The cheapest rental quote often isn't the cheapest total.
Step 5: Silt Fence—The Control Nobody Thinks About Until It Rains
This is the step most people skip, and it's the one that can cost you a fine or a stop-work order. Silt fence is an engineered sediment control barrier, not a decorative boundary. It slows stormwater runoff and captures sediment before it leaves your site.
Key checks:
- Placement. Silt fence should run along the downhill side of disturbed areas, following the contour. Not wherever the excavator found it easiest to dig.
- Embedment. The bottom of the fabric should be buried in a trench—typically six to eight inches deep—and backfilled. I've seen fences "installed" by someone hammering stakes into the ground with fabric lying loose at the base. That stops nothing.
- Maintenance. Check sediment accumulation after each rain event. Once sediment is buried to half the fence height, it's no longer effective.
I still kick myself for not catching a silt fence installed backwards at a site that got hammered by rain two days later. The runoff channeled underneath and cut a gully through the work area. That error cost us roughly $9,000 in regrading—a lesson I don't need to learn twice.
Common Mistakes That Slip Through
These are the recurring issues I find during audits, in no particular order:
- "Or equal" specifications. That phrase invites substitutions that aren't actually equal. Name the standard you're referencing and hold the line.
- No training documentation. PPE doesn't protect if people don't know how to use it. I don't just verify that respirators exist on-site—I verify that the people wearing them were trained.
- Panic substitution. If the last hard hat fell off the roof, the replacement still needs to be spec-correct. Emergency purchases are where mismatched protection sneaks in.
- Skipping the maintenance log. Equipment that isn't maintained fails at the worst possible moment. Batteries lose charge, suspensions go brittle, and reflective films fade.
Final Note
Efficiency is the core of my job. The faster a site passes verification, the sooner work begins and the fewer costs accumulate. But you can't short-circuit the verification itself—that's where the 12% rejection rate comes from. Run these five checks every time. Some will feel repetitive, especially with a stable crew and a good contractor. That's exactly the point.
PPE verification isn't about finding fault. It's about being able to say, without hesitation, that what's on-site will do what it's supposed to do.
Regulatory references: ANSI Z89.1 (head protection), ANSI/ISEA 107 (high-visibility apparel), NIOSH (respirator approvals). Verify current regulations at osha.gov before implementation. Product details for the 3M Versaflo TR-600 and 3M reflective materials are based on information available as of April 2025.
